Top 10 Basic Calisthenics Exercises for Beginners to Build Muscle
Ten beginner-friendly bodyweight moves with form cues, mistakes to avoid, progressions, and a simple 3-day plan to start building muscle at home.
If you want to get stronger without a gym membership, these calisthenics exercises for beginners are the perfect place to start. Calisthenics uses your own bodyweight as resistance, so all you need is a bit of floor space, a sturdy chair or wall, and a few minutes of focus. Below you'll find ten foundational moves, how to do each one well, the mistakes that hold people back, and a simple plan to put it all together.
Why Calisthenics Works for Beginners
Bodyweight training teaches you to control your own body before you add external load. That builds coordination, joint stability, and a solid base of strength that carries over to everything from carrying groceries to lifting weights later.
It's also flexible. Every move has an easier and harder version, so you can scale each exercise to your current level. And because you can train anywhere, it's easier to stay consistent, which matters more than any single workout.
To build muscle, you still need enough protein and recovery. If you're unsure where you stand, our guide on how much protein you need to build muscle is a good next read.
The 10 Best Calisthenics Exercises for Beginners
Aim for 2-3 sets of each exercise in your session. Rest 60-90 seconds between sets, and stop each set when your form starts to slip, not when you collapse.
1. Push-up
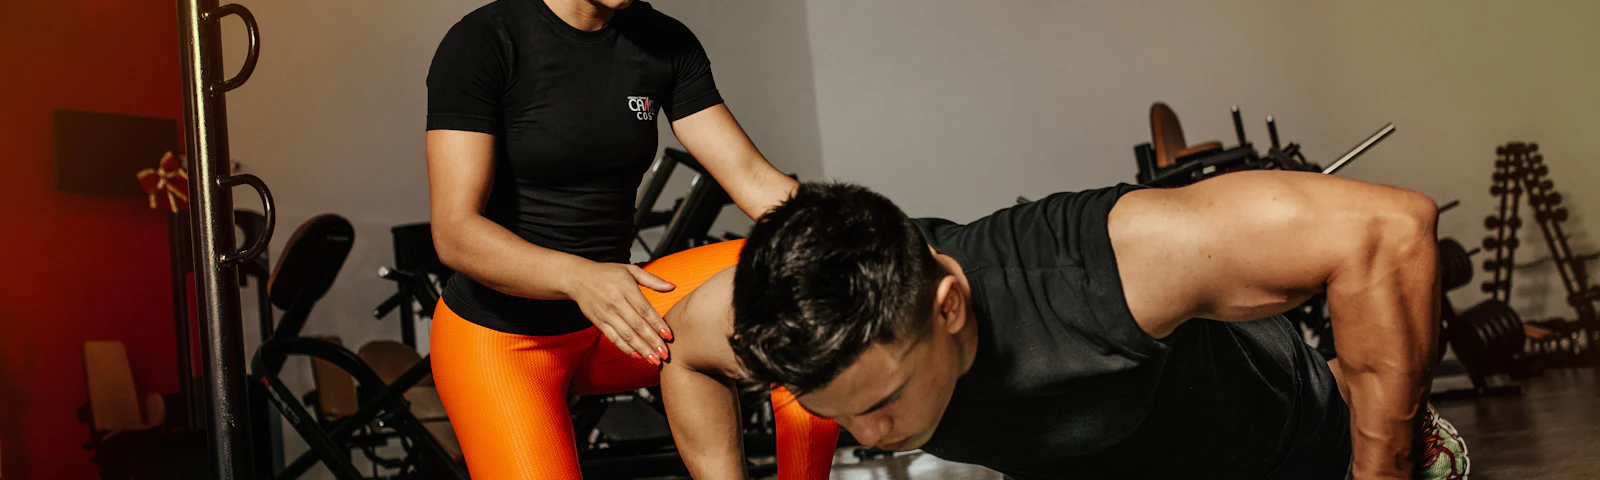
Place your hands slightly wider than your shoulders, body in a straight line from head to heels. Lower your chest until it's a few inches from the floor, elbows angled about 45 degrees from your body, then press back up. Common mistake: letting your hips sag or flaring elbows straight out. Easier: hands on a wall or counter. Harder: slow three-second lowering.
2. Bodyweight Squat
Stand with feet about shoulder-width apart, toes turned out slightly. Sit your hips back and down, keeping your chest tall and knees tracking over your toes. Go as low as you can while your heels stay down, then stand. Common mistake: knees caving inward. Easier: squat to a chair. Harder: pause for two seconds at the bottom.
3. Glute Bridge
Lie on your back, knees bent, feet flat and hip-width apart. Press through your heels and squeeze your glutes to lift your hips until your body forms a line from knees to shoulders. Lower slowly. Common mistake: arching your lower back instead of using your glutes. Harder: single-leg bridge.
4. Reverse Lunge
From standing, step one foot back and lower until both knees are bent about 90 degrees. Keep your torso upright and front heel planted, then push through the front foot to return. Common mistake: stepping too short so the front knee shoots far forward. Easier: hold a wall for balance.
5. Plank
Rest on your forearms and toes, elbows under shoulders. Brace your abs like you're about to be poked in the stomach and squeeze your glutes. Breathe steadily. Common mistake: hips piked high or sagging low. Easier: knees down. Harder: lift one foot for a few seconds at a time.
6. Inverted Row
Lie under a sturdy table or a low bar, grip the edge, and keep your body straight. Pull your chest toward the edge by driving your elbows back, then lower with control. Make sure whatever you use is stable and won't tip. Common mistake: shrugging your shoulders toward your ears. Easier: bend your knees. Harder: straight legs and feet elevated.
7. Bench or Chair Dip
Sit on the edge of a stable chair or bench, hands beside your hips, and slide forward. Bend your elbows to lower until your upper arms are about parallel to the floor, then press up. Common mistake: dropping too deep, which strains the front of the shoulder. Keep the range comfortable and skip this one if it bothers your shoulders.
8. Dead Bug
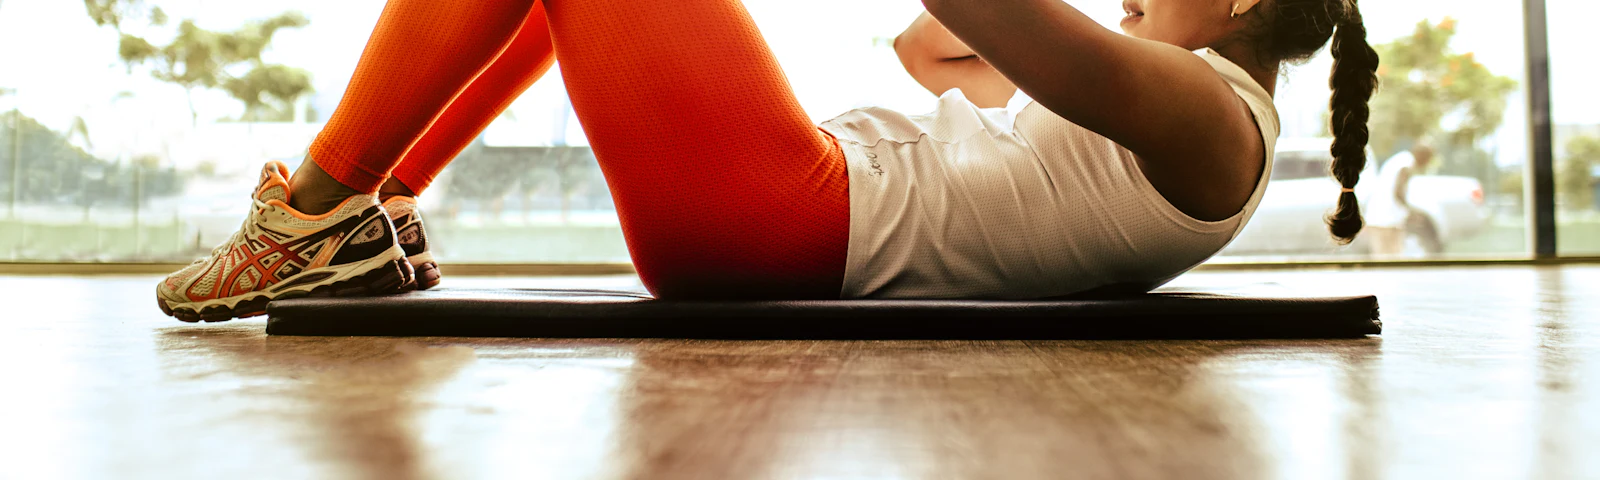
Lie on your back with arms reaching up and knees bent at 90 degrees over your hips. Press your lower back gently into the floor. Slowly extend the opposite arm and leg, return, and switch. Common mistake: lower back lifting off the floor. Shorten the reach until you can keep it flat.
9. Pike Push-up
Start in a push-up position, then walk your feet in and lift your hips so your body forms an upside-down V. Bend your elbows to lower the top of your head toward the floor in front of your hands, then press back. Common mistake: turning it into a regular push-up by dropping the hips. Easier: hands on a low step.
10. Mountain Climber
From a high plank, drive one knee toward your chest, then switch legs in a steady rhythm. Keep your hips level and hands under your shoulders. Common mistake: bouncing your hips up and down. Easier: slow, alternating steps instead of running.
Sample 3-Day Beginner Calisthenics Plan
Train on three non-consecutive days, such as Monday, Wednesday, and Friday. Each session takes about 30-40 minutes including a warm-up. On off days, light activity like walking helps you recover.
| Day | Exercises | Sets x reps |
|---|---|---|
| Day 1 | Push-up, Bodyweight Squat, Inverted Row, Plank | 3 x 8-12 (plank 3 x 20-30 sec) |
| Day 2 | Reverse Lunge, Pike Push-up, Glute Bridge, Dead Bug | 3 x 8-12 (lunges per leg) |
| Day 3 | Push-up, Squat, Inverted Row, Chair Dip, Mountain Climber | 2-3 x 8-12 (climbers 3 x 20 sec) |
Want a more conditioning-focused day? Run the moves as a circuit with our interval timer, working 30 seconds and resting 30 seconds.
Free interactive toolInterval TimerA free HIIT and Tabata timer with sound cues.OpenProgression Ladder: How to Keep Getting Stronger
Muscle grows when you ask it to do a little more than last time. Once you can hit the top of a rep range for all sets with clean form, move one rung up the ladder.
- Add reps. Work from the bottom to the top of the range, for example from 8 to 12 push-ups per set.
- Add a set. Go from 2 sets to 3 sets of the same exercise.
- Slow the tempo. Take three seconds to lower and pause briefly at the bottom.
- Shrink the help. Lower the incline on push-ups or straighten your legs on rows.
- Switch to a harder variation. Move to decline push-ups, split squats, or single-leg bridges, then start back at the bottom of the rep range.
Common Mistakes to Avoid
- Rushing reps. Momentum takes work away from the muscle you're trying to train.
- Skipping pulling exercises. Balance every push with a row to protect your shoulders.
- Training to total failure every set. Leave one or two good reps in the tank.
- Doing too much too soon. Soreness that lasts several days means you should scale back.
- Ignoring sleep and nutrition. Muscle is built during recovery, not just during the workout.
Safety Tips Before You Start
Warm up for five to ten minutes before every session with marching in place, arm circles, hip circles, and a few easy squats. This raises your body temperature and prepares your joints.
The CDC recommends muscle-strengthening activities that work all major muscle groups at least two days a week, which this plan covers. You can read the full adult activity guidelines for more detail.
Next Steps
Pick your starting variation for each move, follow the 3-day plan for four weeks, and use the progression ladder to keep things challenging. These calisthenics exercises for beginners give you a complete foundation. When you're ready for more structure, try our 30-minute full-body home workout or explore the beginner strength training guide to add weights.
Frequently asked questions
Can you build muscle with calisthenics alone?
Yes. As long as you keep making exercises harder over time with more reps, slower tempos, or tougher variations, bodyweight training can build real muscle, especially for beginners.
How often should beginners do calisthenics?
Three full-body sessions a week on non-consecutive days is a great starting point. It gives each muscle group enough work while leaving time to recover.
What if I can't do a single push-up yet?
Start with wall push-ups or incline push-ups on a sturdy counter or bench. Lower the incline gradually over a few weeks until you can do floor push-ups with good form.
Do I need a pull-up bar to start?
No. You can train your back with doorway rows, towel rows, or table rows at first. A pull-up bar is a useful upgrade once you are ready for hangs and negatives.
Disclaimer: This article is for general information only and isn't a substitute for advice from your doctor, dermatologist, podiatrist or a registered dietitian. Check with a professional before starting a new diet, supplement, skin treatment or exercise program, especially if you have a health condition.
Keep reading
More Workouts
Beginner Strength Training Guide: Your First 8 Weeks
Learn the five movement patterns, how sets and reps work, and follow a simple 8-week, 3-day full-body plan to start lifting with confidence.
HIIT vs Steady-State Cardio for Fat Loss: Which Is Better?
Short and intense or long and steady? Compare HIIT and steady-state cardio, try a sample session of each, and learn how to mix both for fat loss.
30-Minute Full-Body Home Workout (No Equipment)
A complete 30-minute bodyweight session with a warm-up, 40/20 interval circuit, beginner to advanced variations, and a cooldown. No equipment needed.